To calibrate the Friction, select Service Tool from the main menu and click the Robot Calibration -> Friction Calibration button.

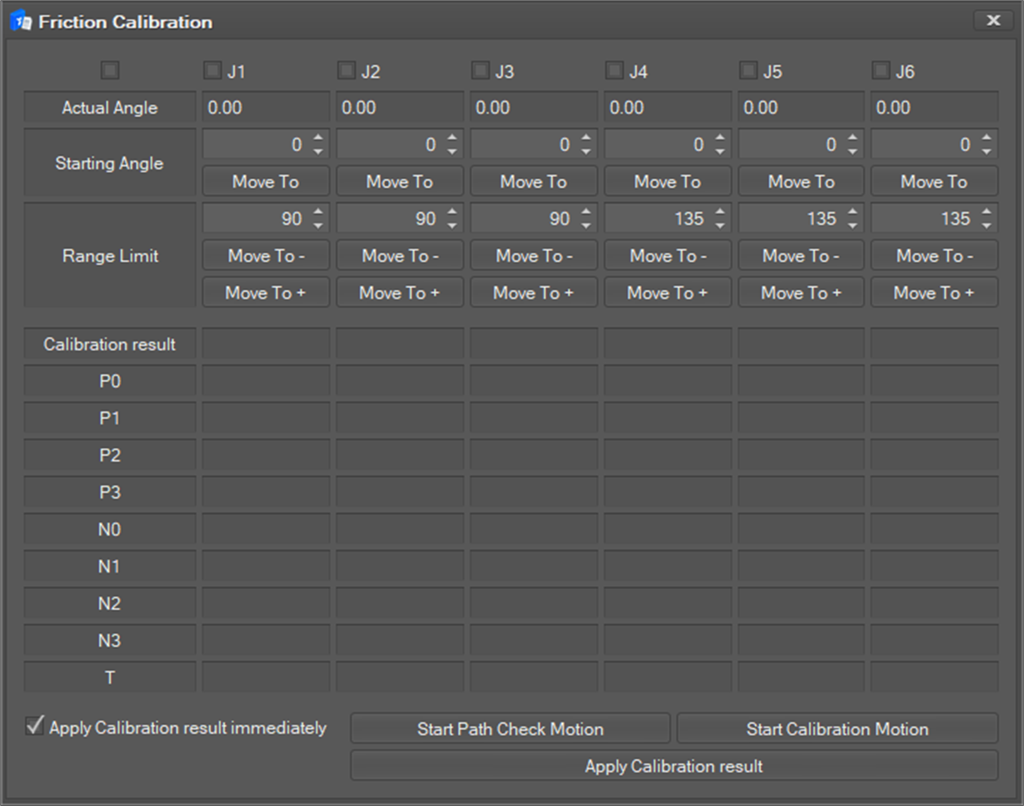
The Friction Calibration window will appear.
-
Select the joint axis to set by checking the check box at the top. At this time, if you select the check box on the left, you can select all joint axes.
-
Sets the Starting Angle of each joint. At this time, also the joints that are not measured should be set. You can also use the Move To button to move to the angle you started.
-
Set the Range Limit for each joint axis. At this time, you can move using Move To -, + button for the set range value.
-
You can check the path to be used for the compensation motion by clicking the Start Path Check Motion button.
-
You can start the calibration motion by clicking the Start Calibration Motion At this time, you can set the Apply Calibration result immediately checkbox to reflect the correction result immediately.
-
After the calibration motion is completed, the calibration result value appears as success / failure on the Calibration result area, and the values are displayed at the bottom.
-
The calibration result can be reflected when the Apply Calibration result button is clicked.