Connect controller to robot
MANDATORY EASY 1 MIN
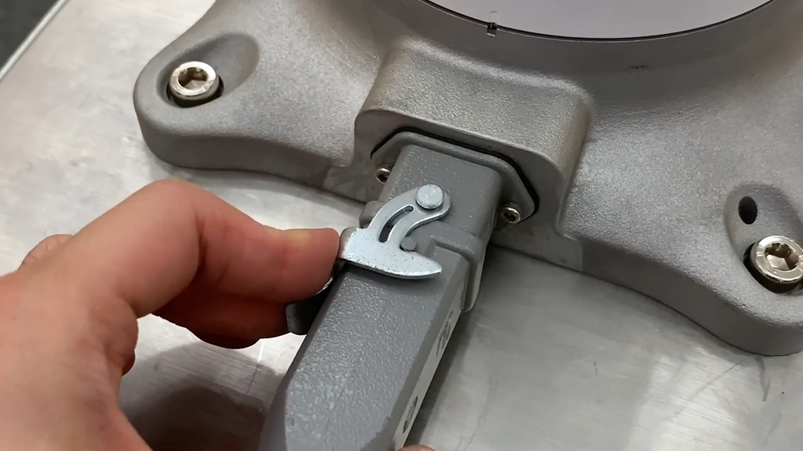
Connect the manipulator connection cable to the corresponding connections on the controller and install the snap ring to prevent the cable from becoming loose.
-
Connect the opposite end of the robot cable to the corresponding connection of the controller until it clicks and please make sure that the cable is plugged in tightly.
ㅤ
Connecting Power to Controller
MANDATORY EASY 1 MIN
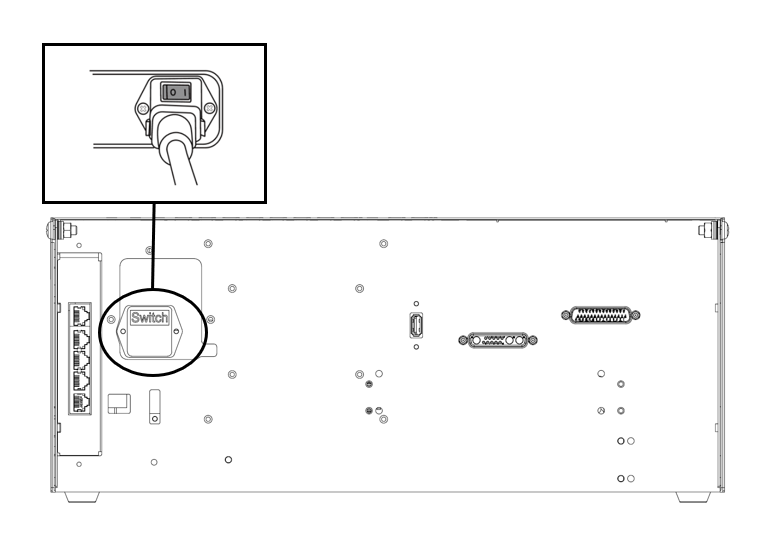
To supply power to the controller, connect the power cable of the controller to a standard IEC power outlet.
-
Please make sure the robot is properly grounded after connecting the power cables (Electrical Ground Connections).
-
Establish a common ground for all equipment in the system with unused bolts related to the ground symbol inside the controller. The ground conductor must satisfy the maximum current rating of the system.
-
For more information, refer to Connecting Power to Controller.
The power supply must satisfy minimum requirements such as ground and circuit breakers. The electrical specifications of the included AC controller are as follows:
|
Parameter |
Specifications |
|---|---|
|
Input Voltage |
100 – 240 VAC |
|
Input Power Fuse (@100-240V) |
15 A |
|
Input Frequency |
47 – 63 Hz |
Refer to the following appendix for optional controller information.
Position controller
MANDATORY EASY 1 MIN
When installing the controller on the floor, secure at least 50 mm of space on each side of the controller to enable ventilation.
Caution
-
Please ensure that the cables have curvatures greater than the minimum curvature radius. For more information, refer to Placing the Cable.