Inserting the [Conveyor Tracking] command into the programming creates a [Conveyor Tracking] line and an [End Conveyor Tracking] line. At this time, the robot will perform the conveyor tracking motion. It is possible to insert the [Wait] command to check whether tracking is being performed well, or insert various other Task Motion commands to develop the desired work.
[Conveyor Tracking] line accelerates to allow the robot to track the conveyor speed. Default acceleration time is 0.3 s, and to adjust it, the drl command tracking_conveyor must be used under [Custom Code]. As it proceeds to the next line as soon as it accelerates to reduce takt time, when a task motion is encountered, it overlaps with the acceleration motion. Task motion deviation can be present in the acceleration area, but once acceleration ends, tracking can be performed accurately.
[End Conveyor Tracking] line decelerates to allow the robot to stop conveyor tracking. Default acceleration time is 0.3 s, and to adjust it, the drl command tracking_conveyor must be used under [Custom Code]. As it proceeds to the next line as soon as it accelerates to reduce takt time, when a task motion is encountered, it overlaps with the deceleration motion. However, as Joint Motion cannot be performed during deceleration, if Joint Motion is required immediately after [End Conveyor Tracking], perform Wait for 0.3 s or perform Task Motion for more than 0.3 s before performing Joint Motion.
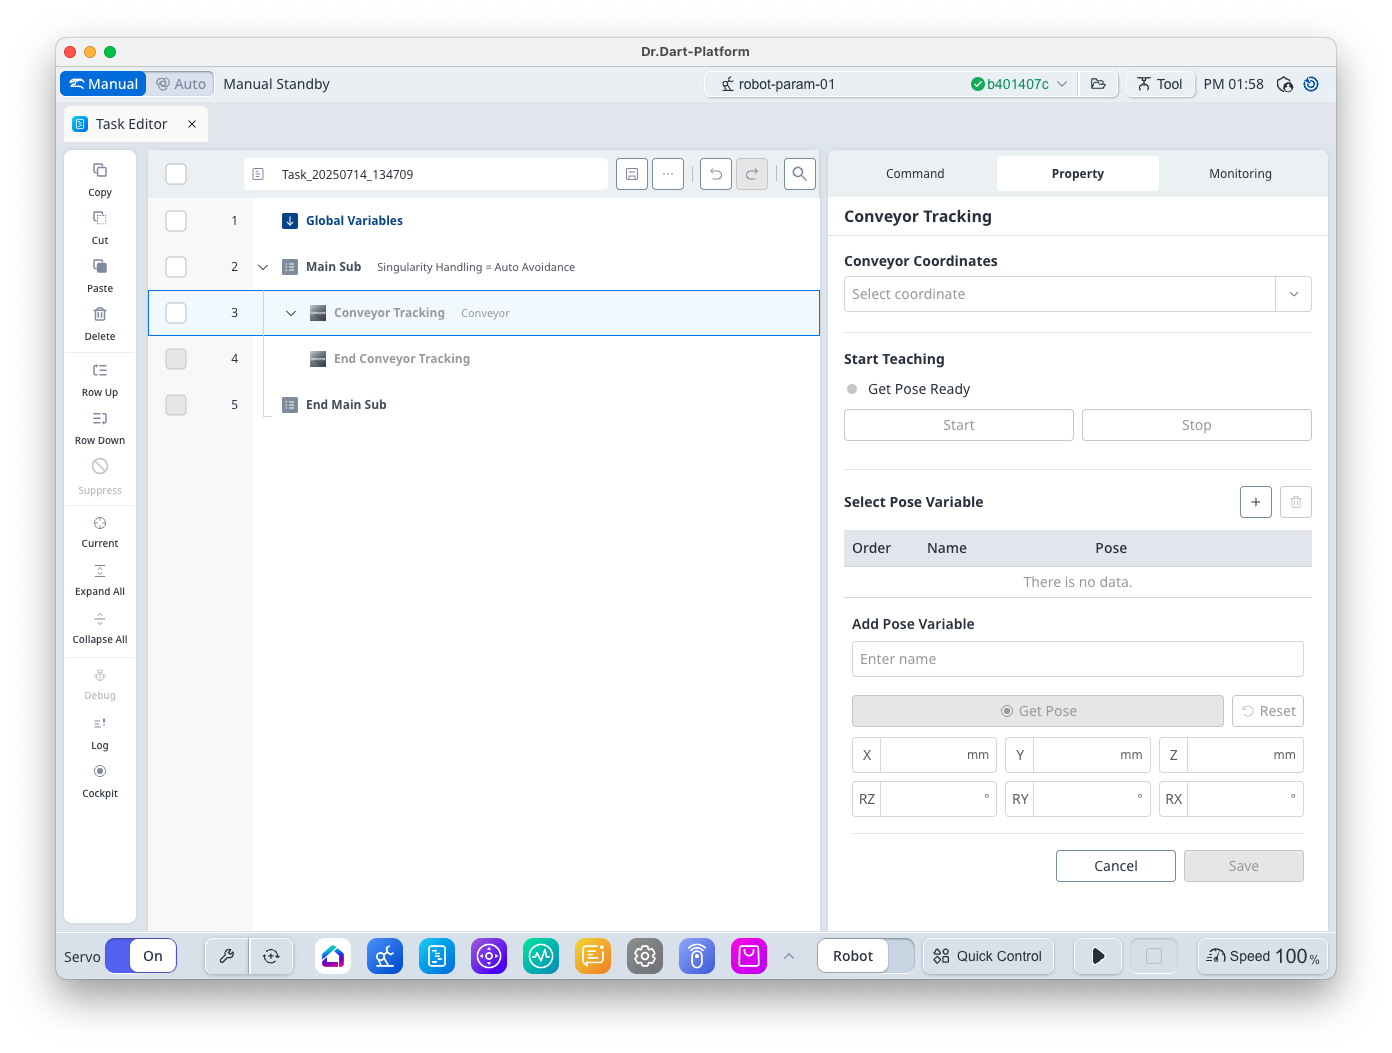
[Conveyor Coordinates] gives the workpiece coordinates used to execute conveyor tracking. The coordinates set using the [Conveyor Coordinates] command > [Conveyor Coordinates Name] are listed.
Also, it is possible to obtain a teaching point for using Task Motion. The teaching point for Conveyor Tracking must be entered based on the workpiece coordinates, so in order to obtain an accurate teaching point, the coordinates must be entered manually based on CAD information or be obtained through the following procedure: This step can be omitted if the coordinates can be obtained with only the designed value.
-
With the [Start] button pressed, let workpieces flow through like during an actual workflow.
-
When a workpiece enters the monitoring section, a green indicator lights goes on at [Get Pose Ready]. After the indicator light goes on, stop the conveyor in a position where the robot can perform teaching properly. If the green indicator light does not go on, press [Stop] and restart the process.
-
After teaching the robot based on a workpiece during the stop, press

In addition to workpiece coordinates, the teaching point supports teaching points in [Base] or [World] coordinates. In order to use them, it is necessary to obtain the teaching points of the corresponding coordinates in the Task Motion > [Property] window.