
Connecting Power to Controller
MANDATORY EASY 1 MIN
To supply power to the controller, connect the power cable of the controller to a standard IEC power outlet.
-
Please make sure the robot is properly grounded after connecting the power cables (Electrical Ground Connections).
-
-
For more information, refer to Connecting Power to Controller.
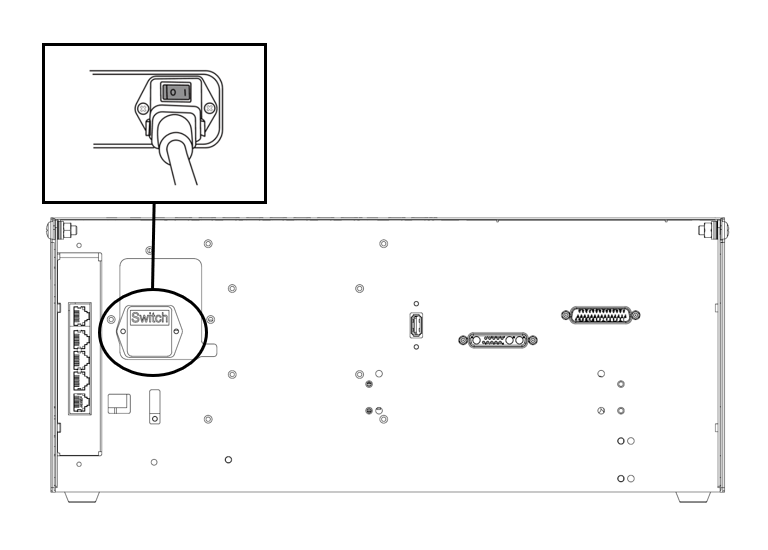
|
|
|
|---|---|
|
Input Voltage |
100 – 240 VAC |
|
Input Power Fuse (@100-240V) |
15 A |
|
Input Frequency |
47 – 63 Hz |
Refer to the following appendix for optional controller information.
Position controller
MANDATORY EASY 1 MIN
When installing the controller on the floor, secure at least 50 mm of space on each side of the controller to enable ventilation.