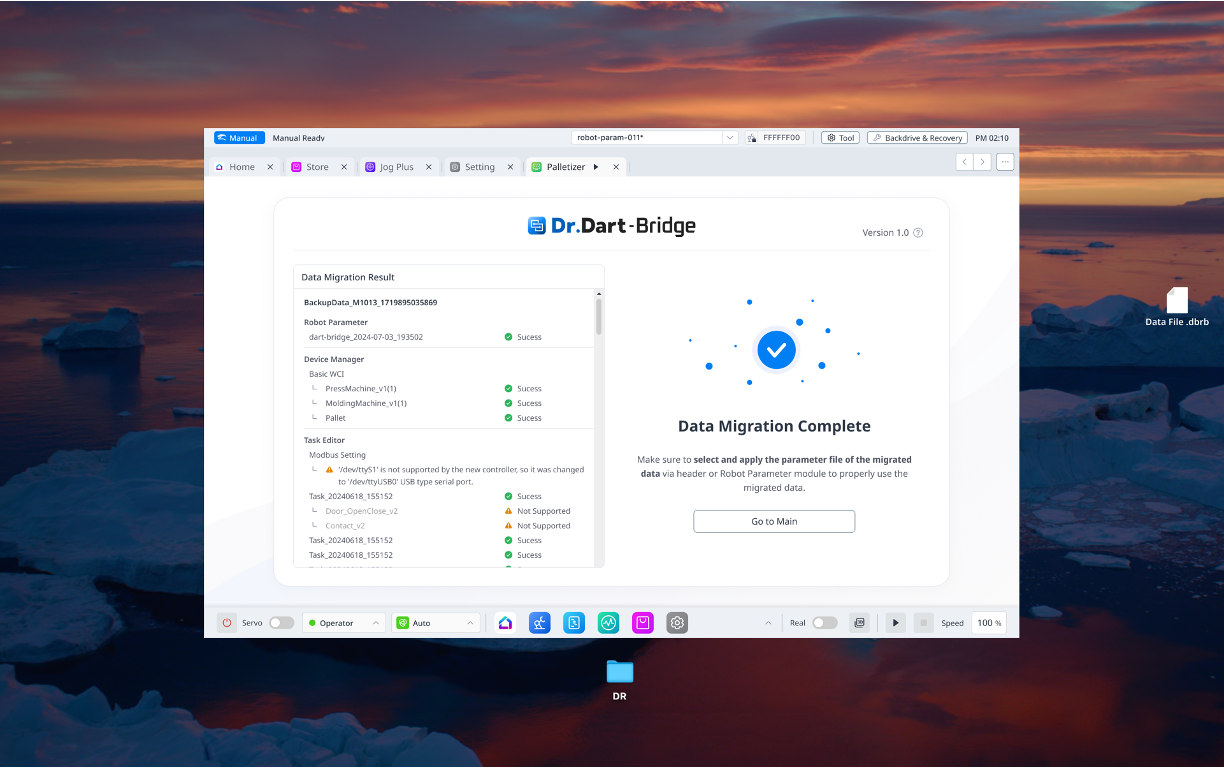
PC
-
Install Dart-Bridge SW through the installation file.
-
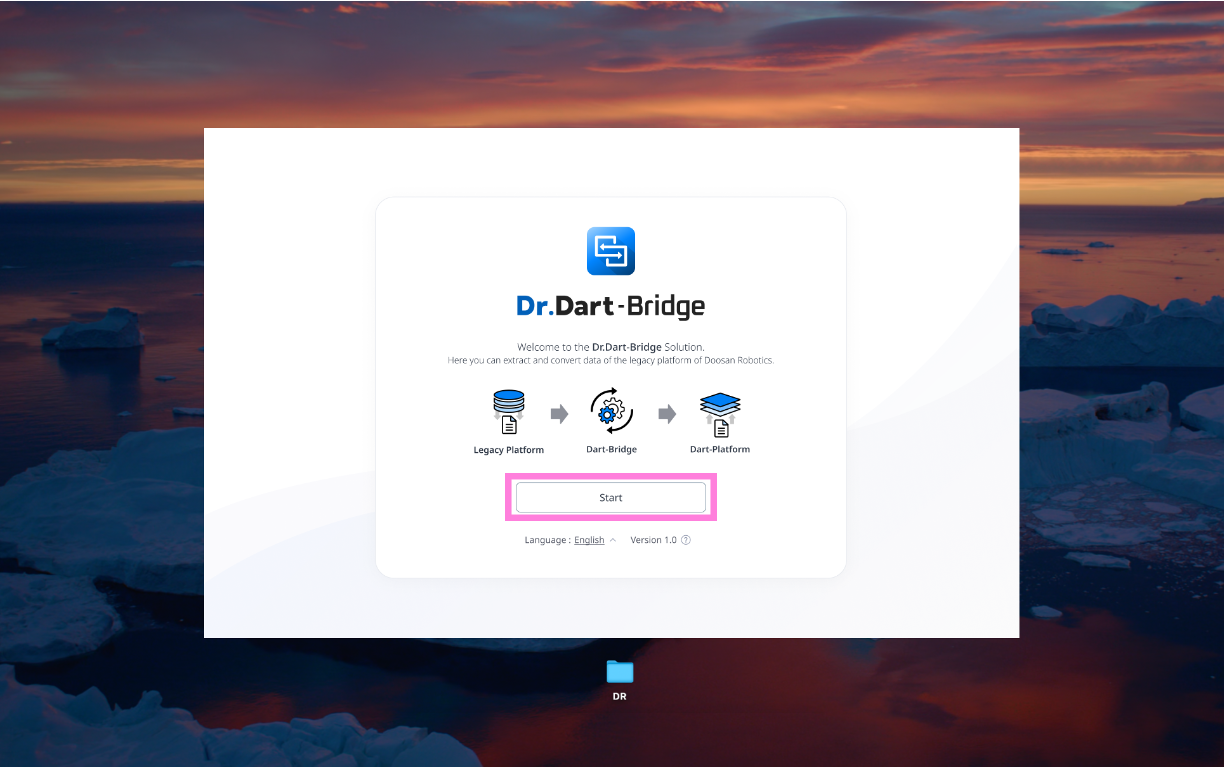
On the landing page, click the 'Start' button.
-
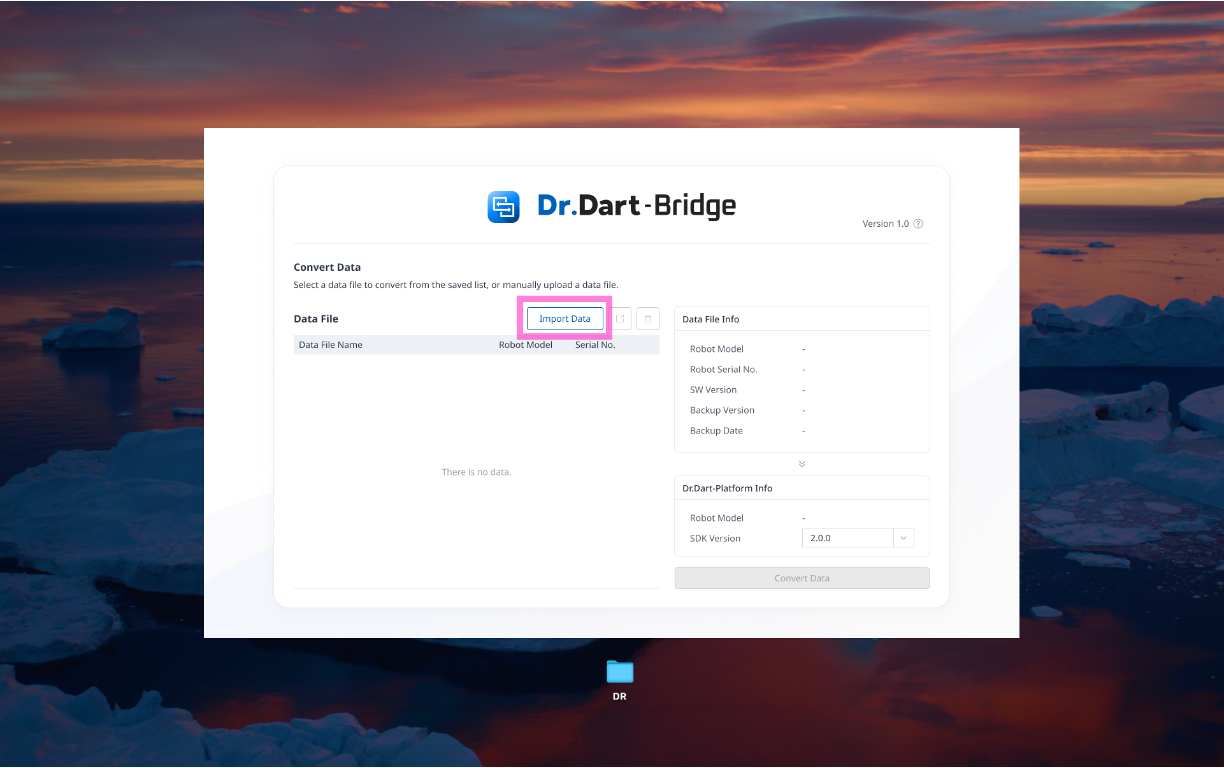
Click the 'Import Data' button on the main screen.
-
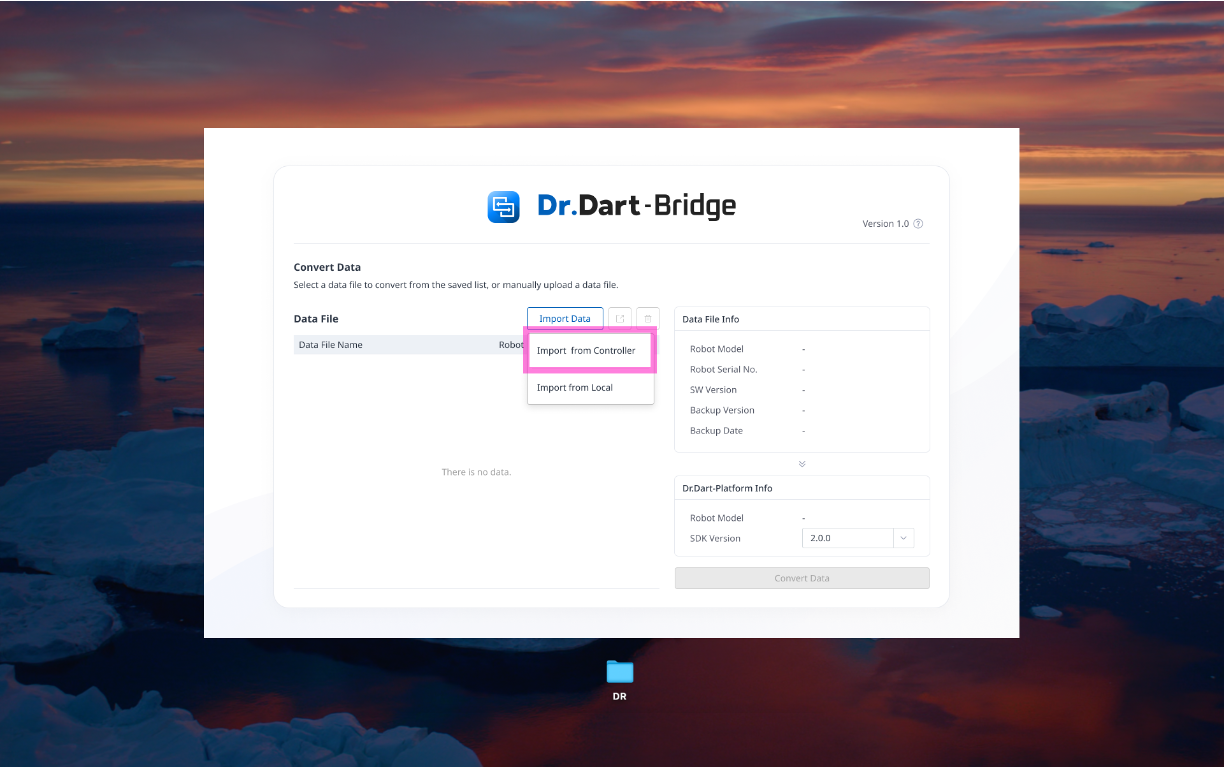
Select the method of importing data (import directly from the controller or import already extracted data files)
-
Select or enter an IP on an import pop-up call from the controller, then click the 'Import' button.
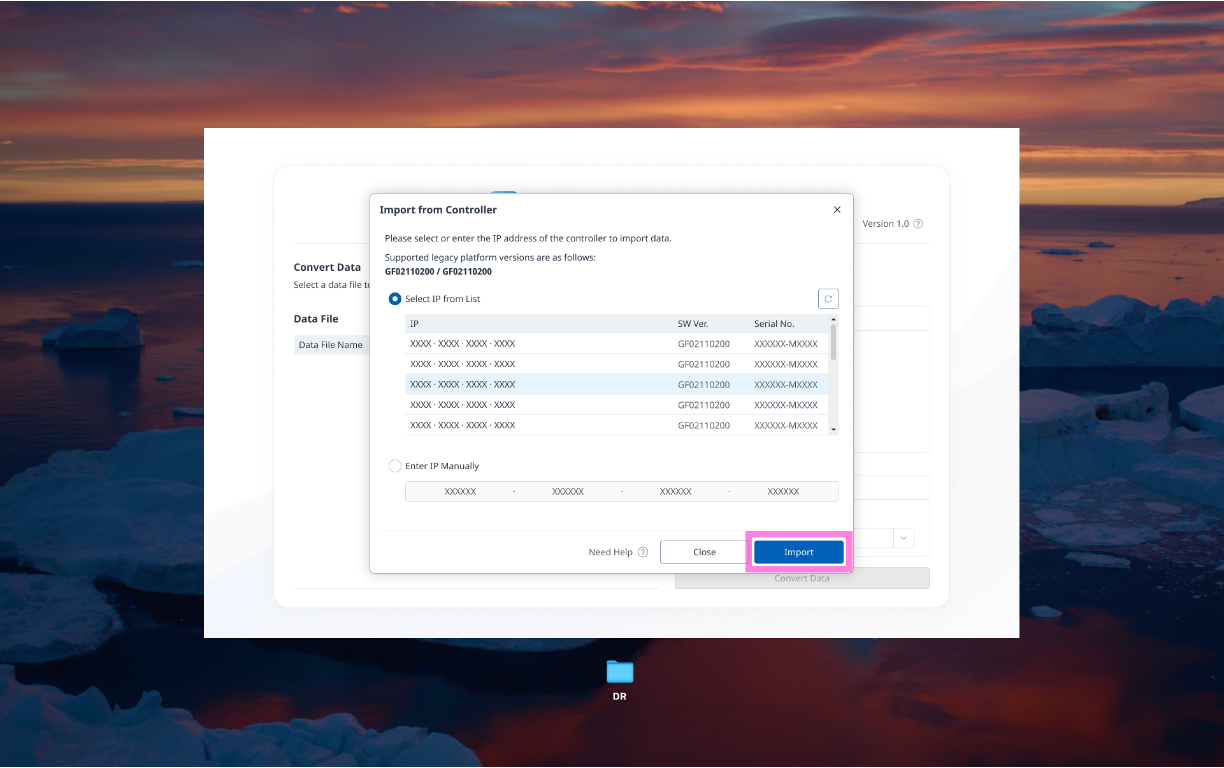
-
Imported data is listed in the data file list. Select the data file in the list and click the 'Convert Data' button.
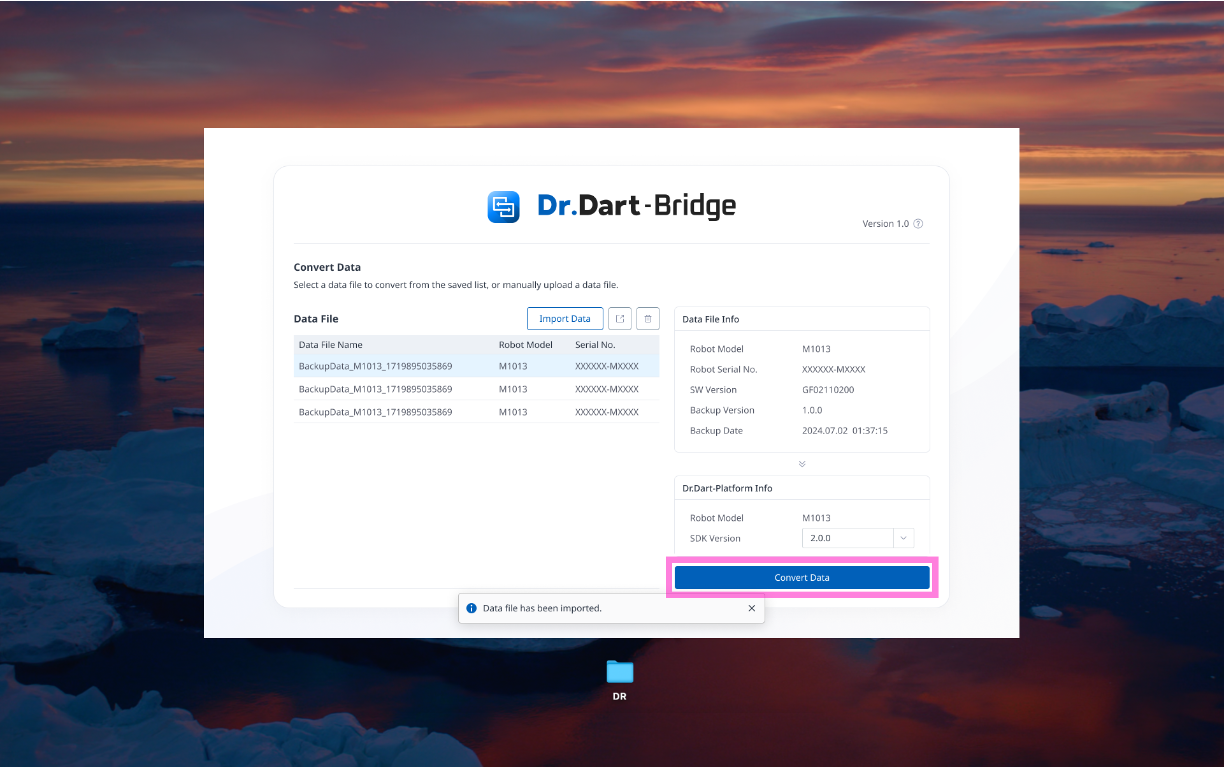
-
Starts the data conversion.
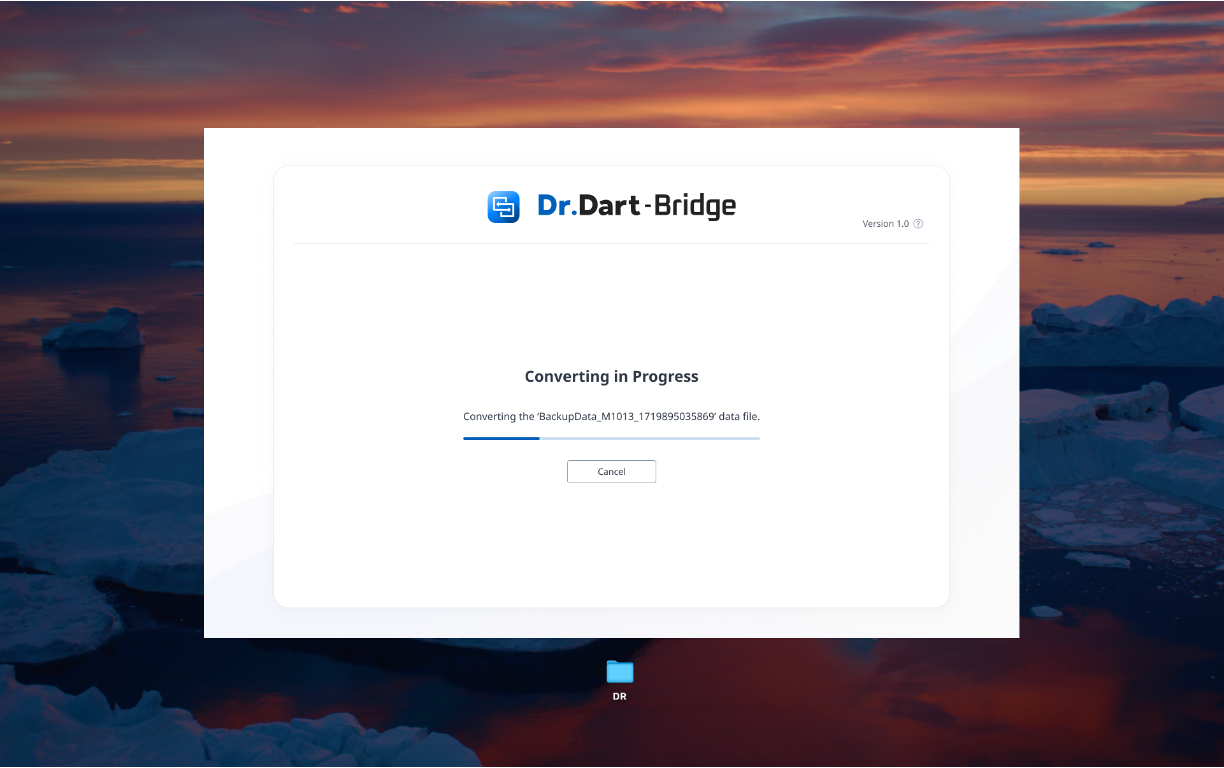
-
The completion screen will be called upon completion of the data conversion. Click the 'Export Data' button.
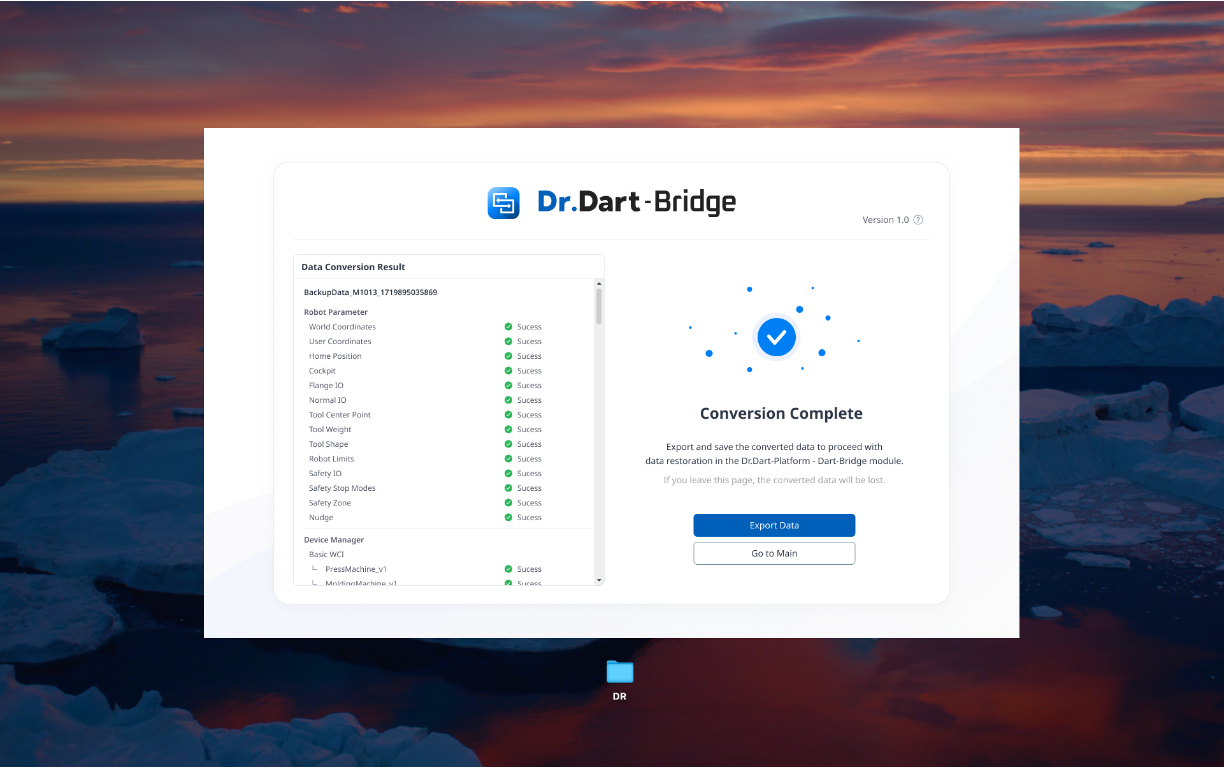
-
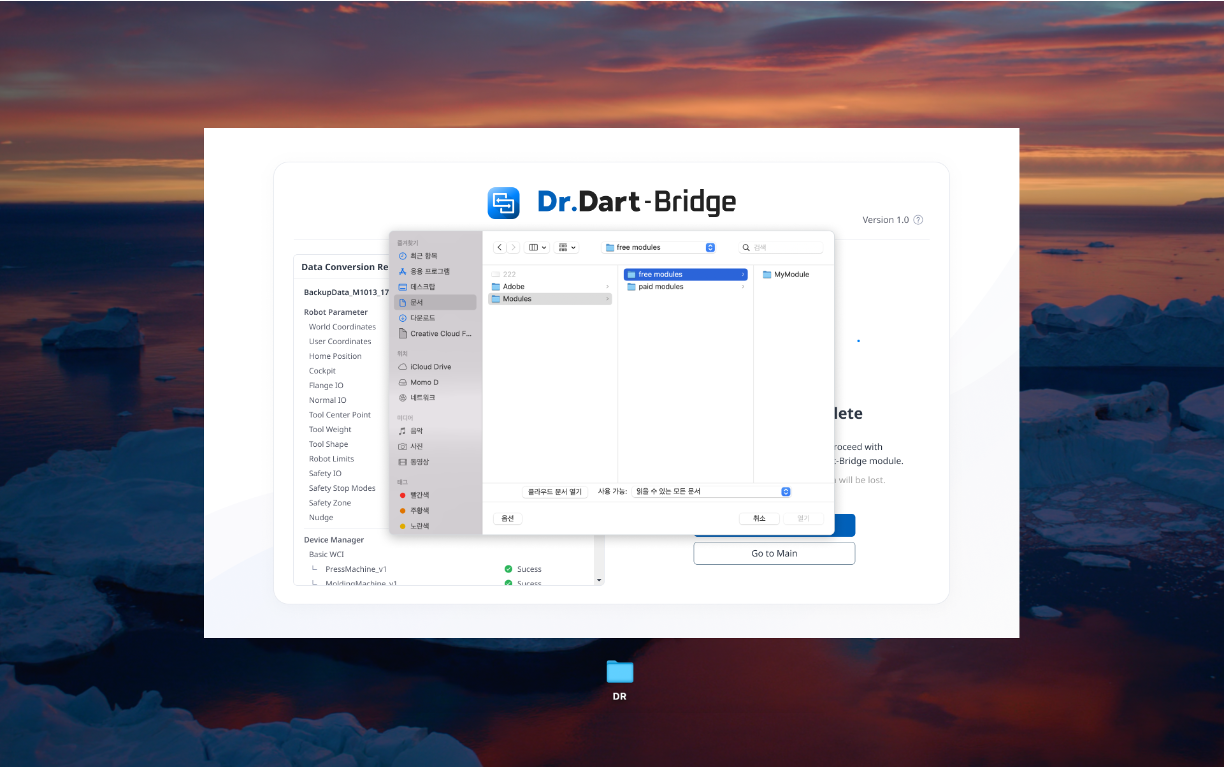
Call the local file explorer pop-up to specify where the data is to be exported.
-
The converted file is stored in the selected location.
Dr.Dart-Platform
-
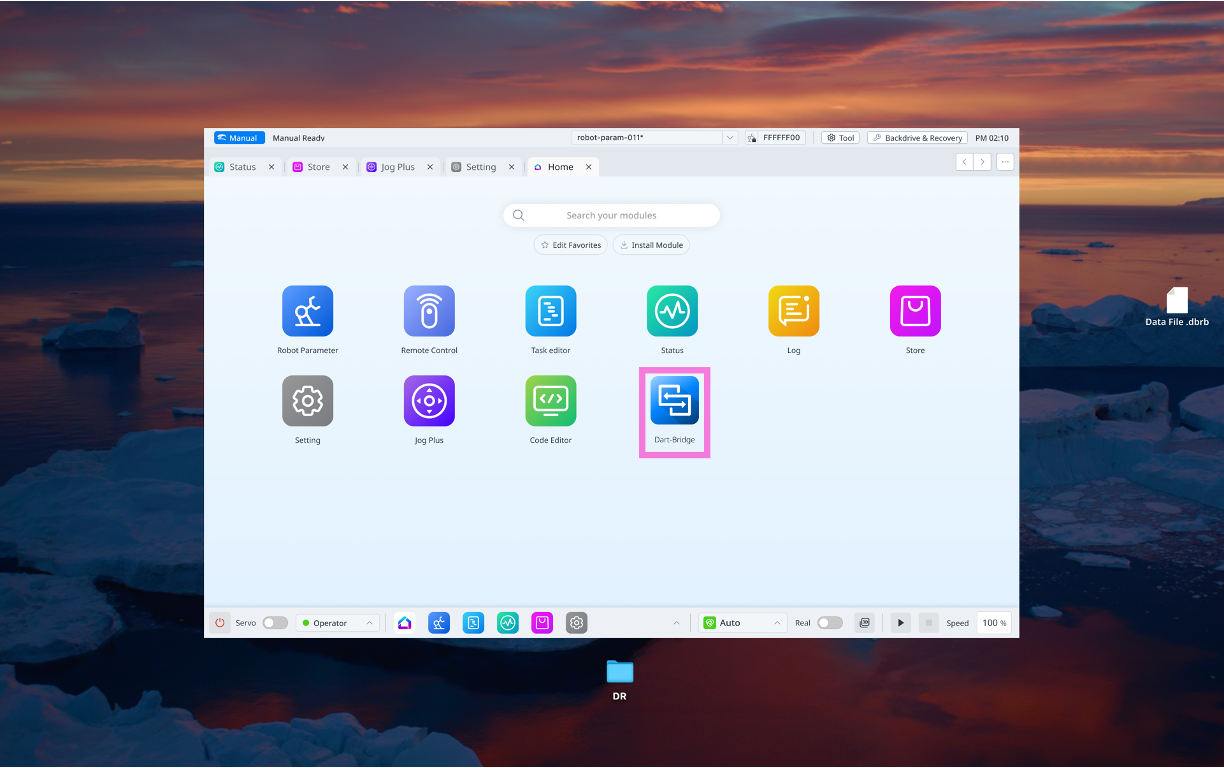
After running the platform, run the Bridge module.
-
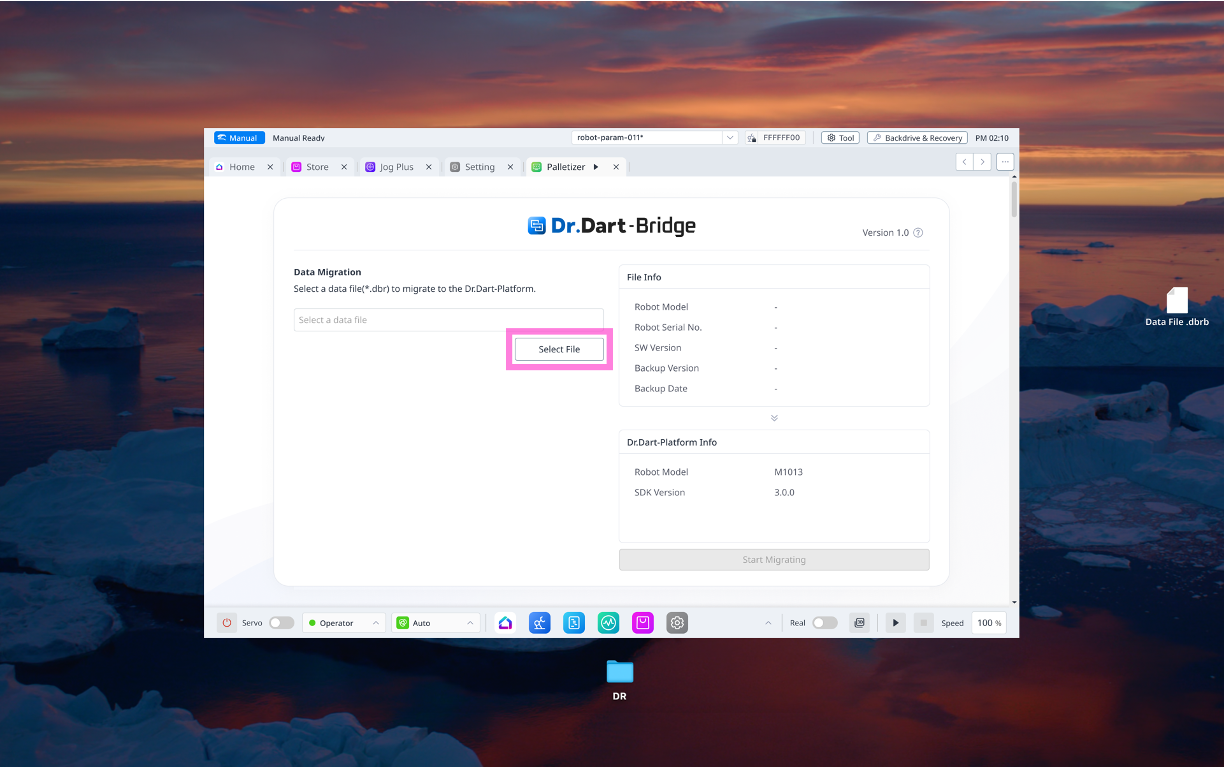
Click the 'Select File' button on the Bridge module main screen.
-
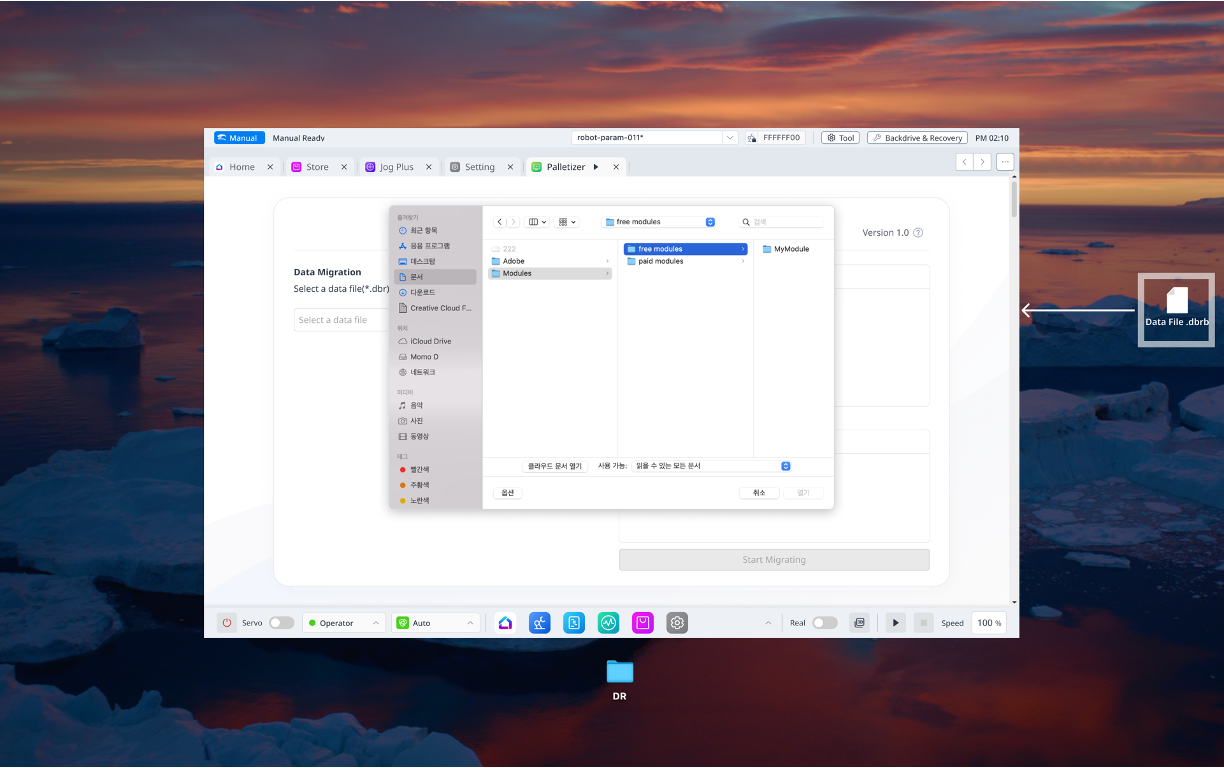
When the Local File Explorer pop-up is called, select the file you converted through Dart-Bridge SW.
-
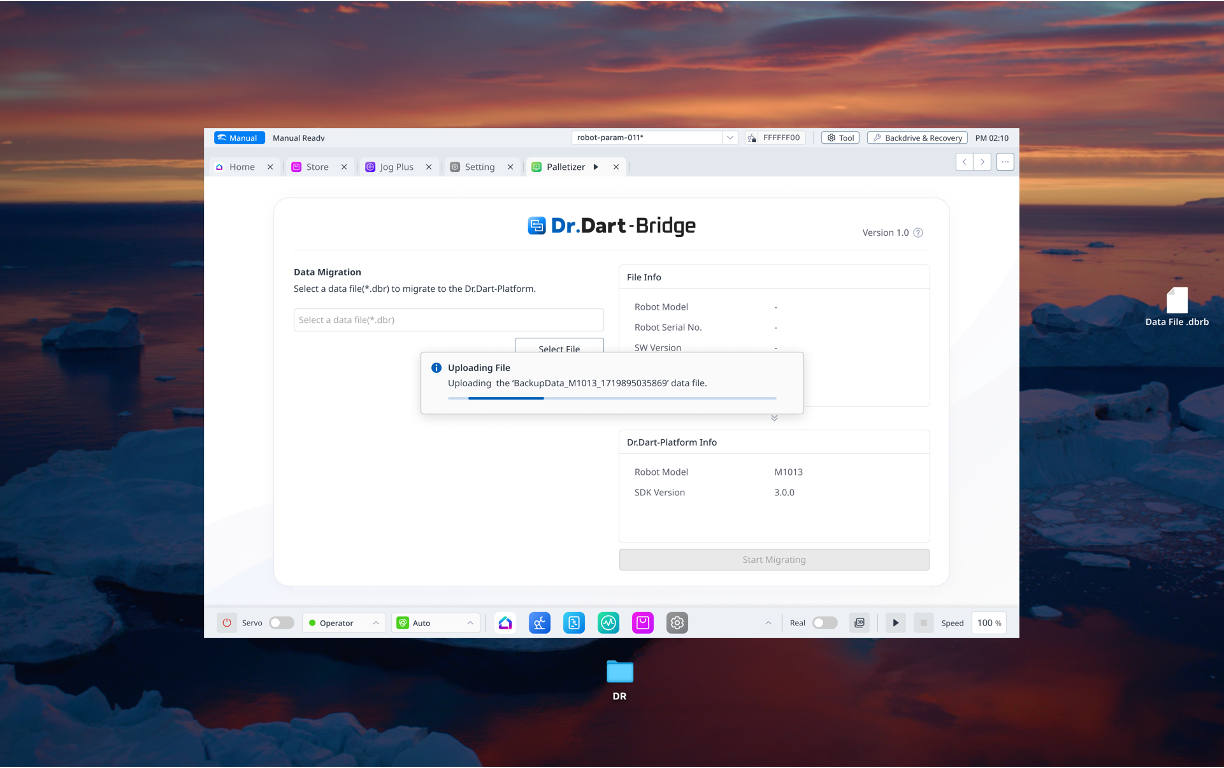
Upload to the selected file module.
-
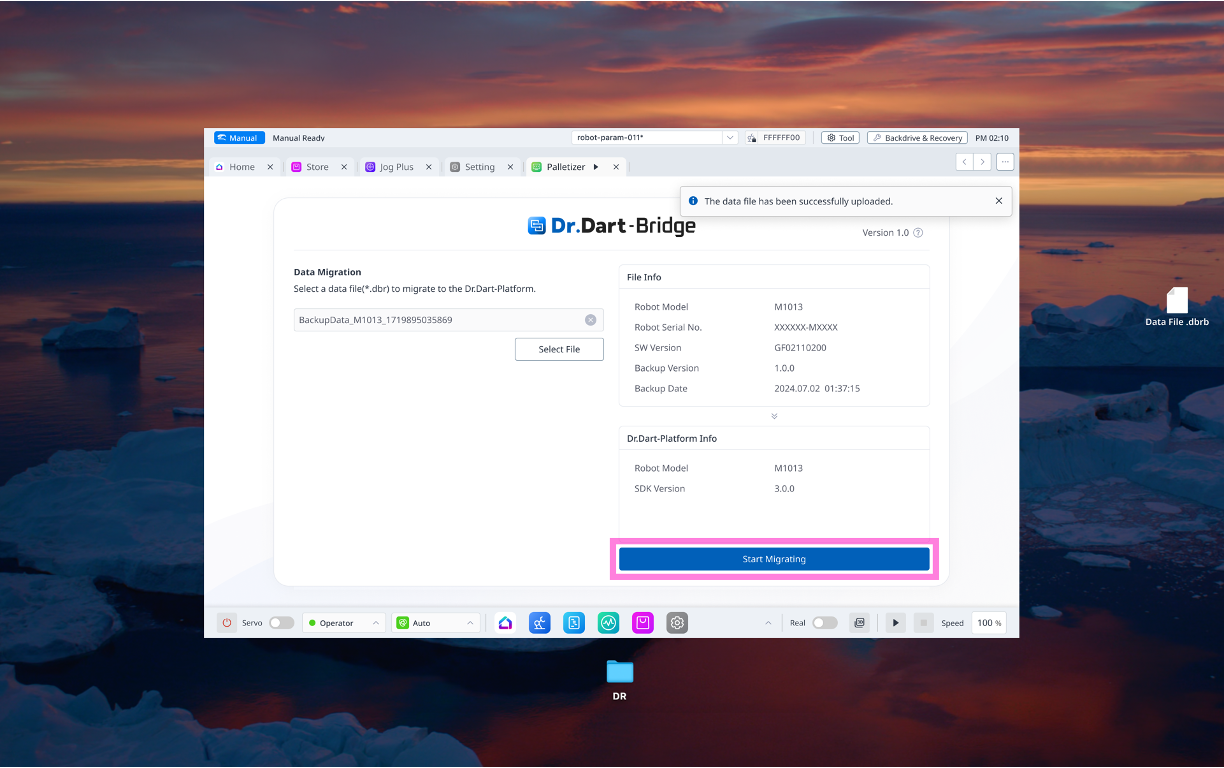
When the file is uploaded, click the 'Start Migrating' button.
-
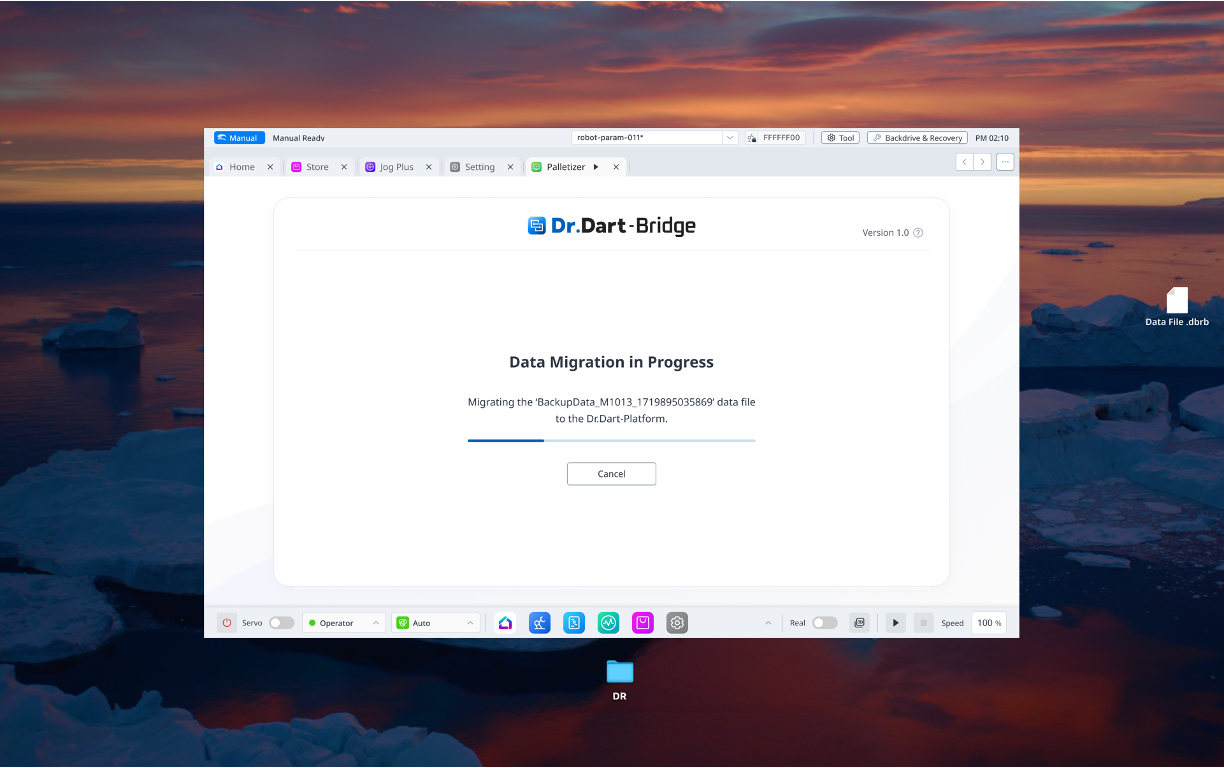
Start data migration.
-
Complete the data migration.