
Project Download and Run
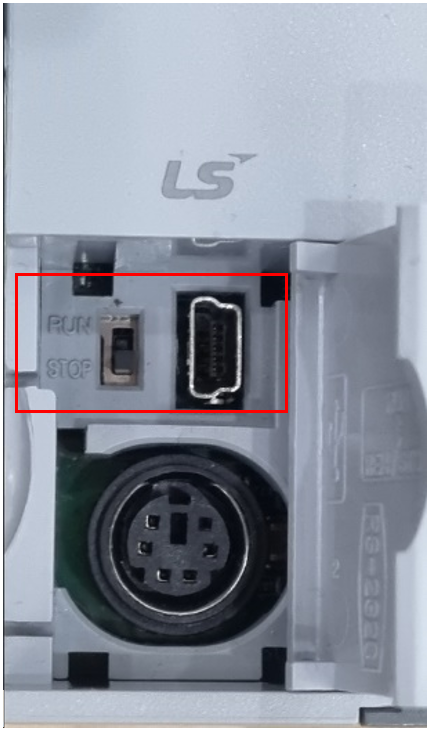
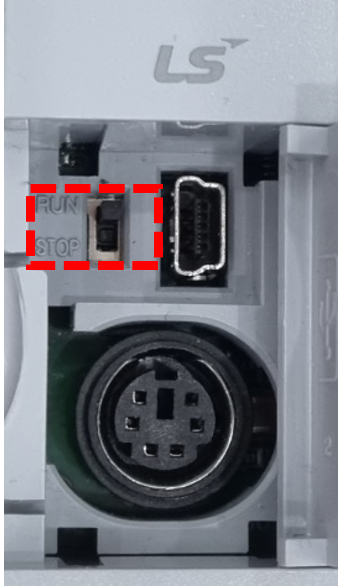
Before downloading the project, connect the PLC and PC with a USB cable. Then set the operation mode of the PLC as STOP, as shown in the image below.
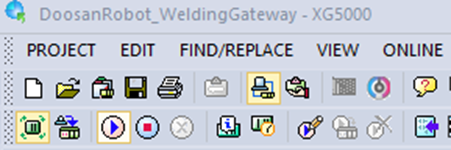
Go to ONLINE in the menu and click Connect, as in the image below, to set the PLC as Online.
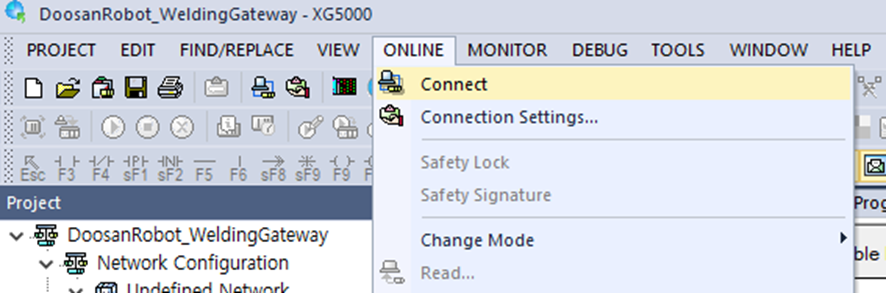
Once the PLC is set to Online, the Connect menu changes to Disconnect. Then download the current Project to the PLC.
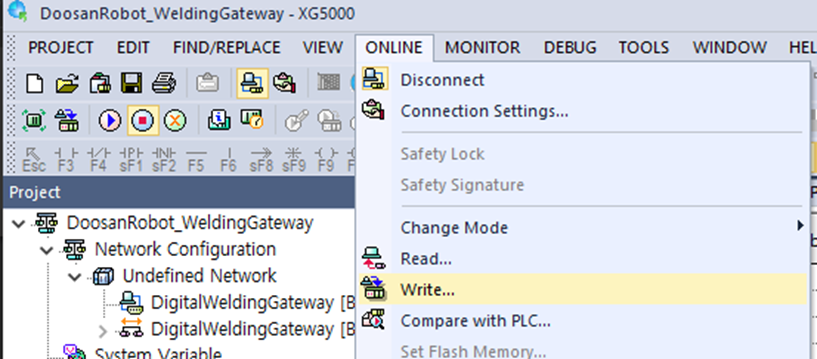
Click Write to display the window shown below, check Set link enable with parameters, and click the OK button.
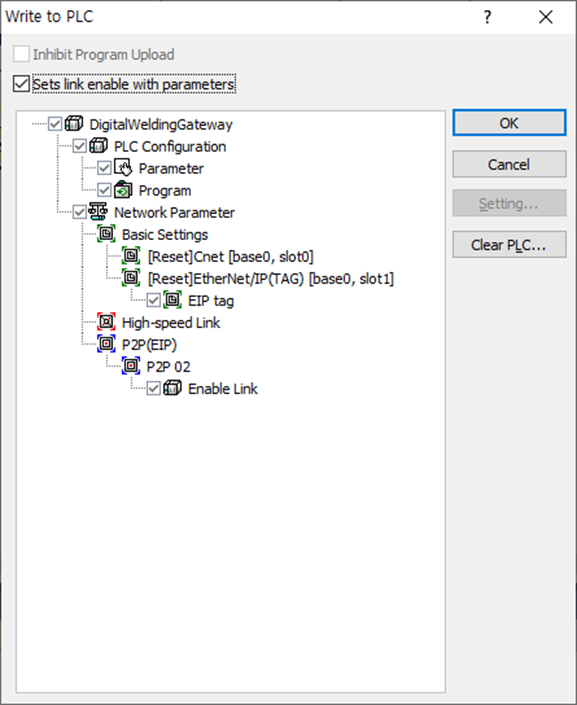
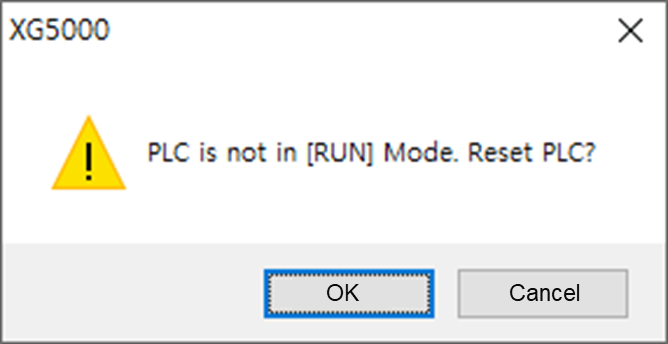
Once the download is complete, a window appears asking whether to reset the PLC, as shown below. Click the OK button to reset the PLC.
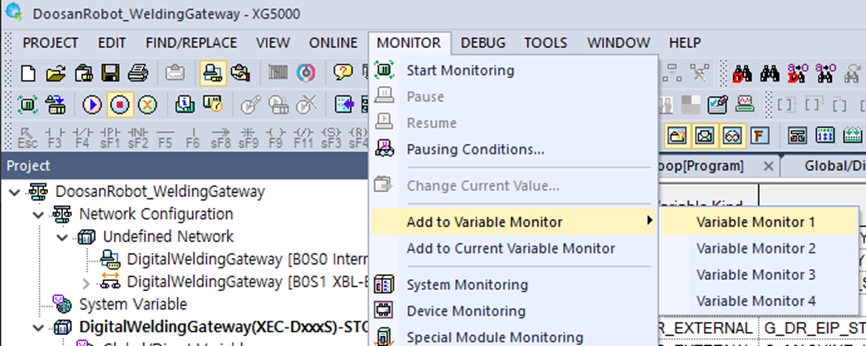
Then set the PLC as Online again and begin monitoring.

After the monitoring function is enabled, the variable monitoring window will be displayed and monitoring of the variables shown below will begin.
Register _P2P2_NDR00, _P2P2_NDR02, G_MACHINE_IN, and G_MACHINE_OUT variables to confirm whether communication between the robot and welding machine is established.
When monitoring is performed as shown below, make sure to set the PLC mode as Run.
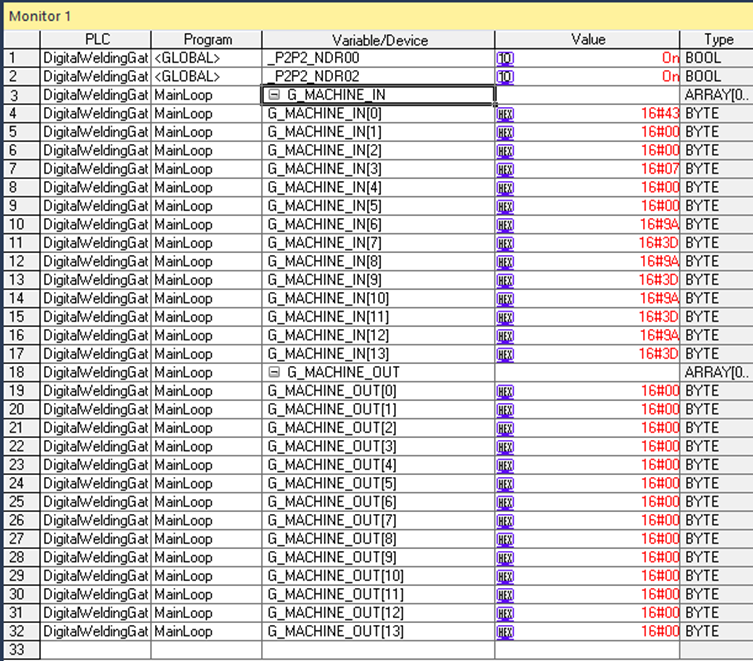
If _P2P2_NDR00 and _P2P2_NDR02 are set to On as shown above, it means that the connection between the robot and the welding machine is established properly.
If the DIP SWITCH, which was set to STOP before, is set to RUN again, the PLC will automatically undertake the role of a gateway whenever power is supplied.
Note
When performing robot SW updates after communication settings are complete and the PLC has been connected, the PLC must be rebooted for proper connection and operation.