Custom Zone Settings
To set the Custom Zone, tap the 
- Enter the Workcell Name in the Workcell Name field on the top of the Workcell Setting screen.
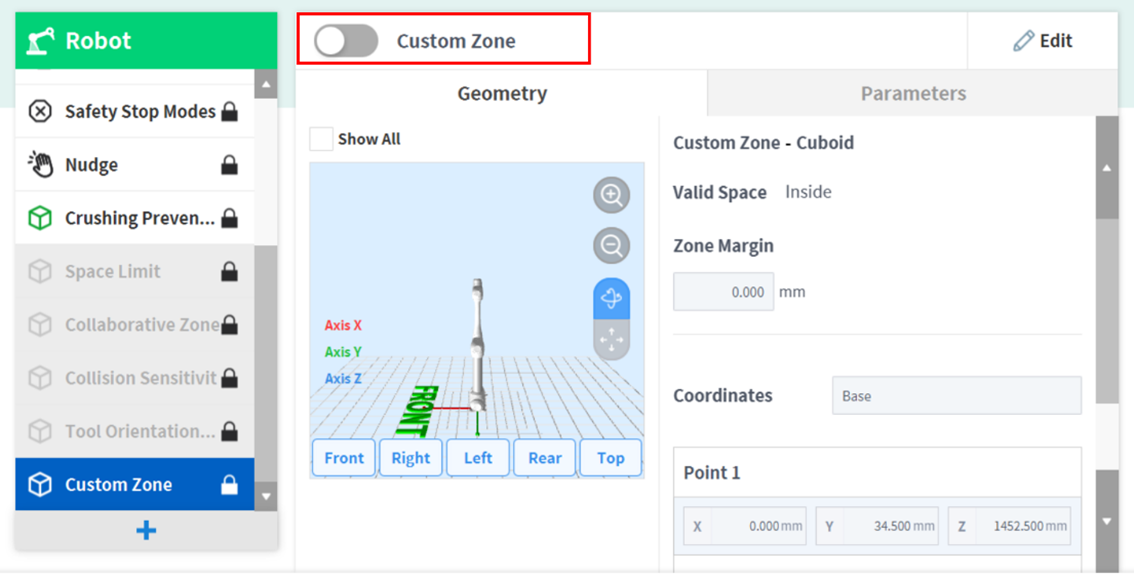
- Set the pose information according to the Zone shape along with the Valid Space and Zone Margin in the Geometry tab.
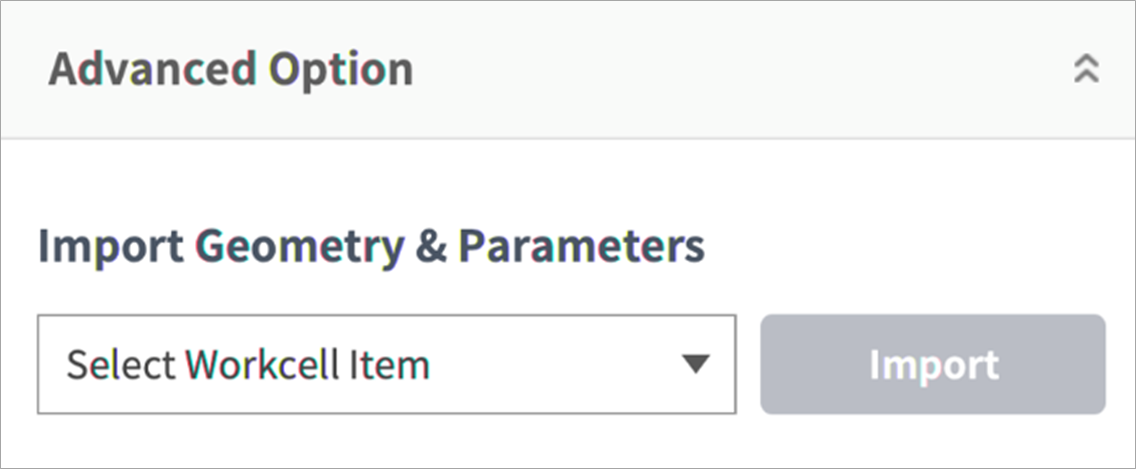
- To import shape setting configurations from another Zone, select the Zone from Import Geometry & Parameters in the Advanced Options and press Import.
Set the Priority Option, Override Option, TCP/Robot Limits, Safety Stop Modes, TCP direction limit, Joint Speed Limits, Joint Angle Limits, and Dynamic Zone Enable in the Parameters tab and press Draft.
Warning
High Priority Zones have priority over the other Zones and global Robot Limits setting. And If multiple High Priority Zones are overlapped, the safety function uses the LEAST restricted safety limit. For these reasons, the size of High Priority Zone should be specified as small as possible for safety.
Note
If the TCP is in a position where multiple Zones overlap, the following rules apply for each safety fuction individually.
- Normal Mode
- If there is no zone set as High Priority Zone, the most restricted limit among the limits of overlapped Zones is selected as the safety limit for that position.
- If there is one Zone set as High Priority Zone, the limit of this Zone is selected as the safety limit for that position.
- If there are two or more Zones set as High Priority Zone, the LEAST restricted among the limits of overlapped Zones is selected as the safety limit for that position.
- Reduced Mode
- If there is no zone set as a High Priority Zone, the most restricted limit among the limits of overlapped Zones is selected as the safety limit for that position.
- If there is one Zone set as a High Priority Zone, the safety limit for that position depends on Override Option.
- If the Override Option is not checked, the most restricted limit between the limits of High Priority Zone and Global Reduced Limit is selected.
- If the Override Option is checked, the limit of High Priority Zone is selected.
- If there are two or more Zones set as High Priority Zone, the safety limit for that position depends on Override Option.
- If there is any High Priority Zone that Override Option is NOT checked, the most restricted limit among the Global Reduced Limit and the limits of High Priority Zones without Override Option is selected
- If Override Options of all High Priority Zones are checked, the LEAST restricted limit among the the limits of High Priority Zones is selected
- Verify that all parameters displayed are the same as what are Intended to be set, then check Confirm draft and press Confirm
- Press the Activate Toggle button to apply the Custom Zone.