
Cockpit Button (six buttons)

No. | Item | Description |
|---|---|---|
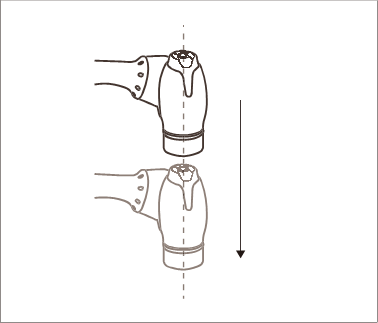
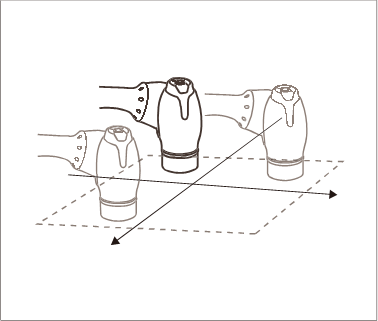
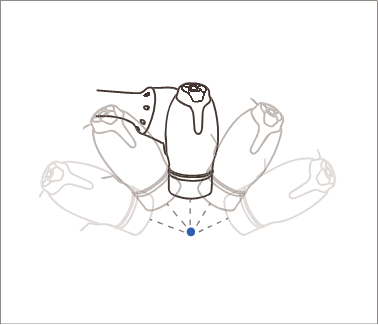
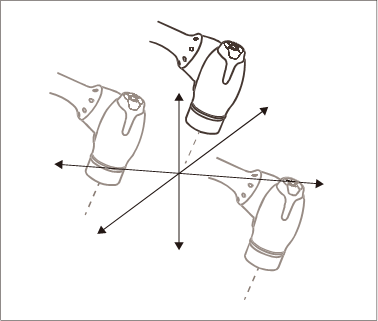
1 | Hand-Guiding Button | This button can be used to adjust or change the robot’s pose. |
2, 3 | User Setting Button (Constrained Motion) | This button can modify the robot’s pose by entering a pose according to a lock condition corresponding to a mode.
 For more information about the settings, refer to Cockpit Setting. |
4 | Save Pose Button | Saves the current robot pose. For more information, refer to Skill Command Work Point Setting with Cockpit Buttons. |
5 | One Line Up | Moves the Focus displayed on the screen one line up |
6 | One Line Down | Moves the Focus displayed on the screen one line down |
Note – Cockpit Setting Change
 The hand-guiding button and
  ,
,  constraints motion button settings require 2 seconds to be modified.
Pressing the Save Pose button on the Skill Setting screen will automatically move the focus to the next pose.
The cancel button can only be used in the Skill Setting window that manages multi-poses.
Caution
A Series models without FTS (A0509, A0912) cannot use User Setting Button(Constrained Motion).
A Series models with FTS (A0509S, A0912S) are capable of using User Setting Button(Constrained Motion).
Fixed motion relies on the FTS attached to the tip of the robot; therefore, it is essential to attach the tool and for the robot to grip it as it moves. Moving the robot while holding the body may not trigger a reaction from the robot.
For details on the functional limits of each robot series, please refer to Functional Limits of each Robot Series.