
I/O Testing
Power off the system
MANDATORY EASY 1 MIN
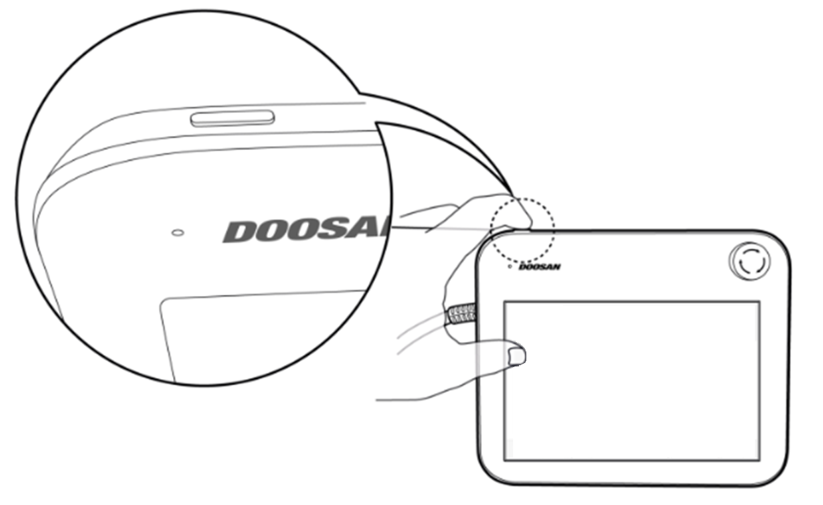
Press the shutdown button on the teach pendant or press and hold the power button on the upper left of the teach pendant for 2 seconds to turn off the system.
The shutdown popup is displayed on the screen.
Press the OK button on the shutdown popup to properly shutdown the system.
Caution
Press and hold the power button for more than 4 seconds to force system shutdown.
Forced shutdown may cause robot and controller failure.
Connect wires
MANDATORY NORMAL 10 MIN
Connect the necessary cables to the flange I/O connectors after the tool is fixed. The pin map of the flange I/O must be checked.
When power is supplied to the robot, the fifth terminal of each connector always outputs 24V.
For more information, refer to Flange I/O.
Caution
Make sure to cut off the robot’s power when connecting the tool and gripper.
Make sure to configure tool and gripper measures to prevent workpieces falling from the tool when the robot power is cut off.
Note
To control/monitor the robot using an external device, connect the controller I/O or connect to a network, such as Modbus TCP, PROFITNET or EtherNet/IP.
For more information, refer to Controller I/O Connection.
For more information, refer to Network Connection.
Power on the system
MANDATORY EASY 1 MIN
Turn the system power on again. Press and hold the power button until the teach pendant screen powers up.
Test controller and flange I/O
MANDATORY NORMAL 10 MIN
The teach pendant features a function capable of testing the operation of the tool connected to the flange I/O.

The following tests can be performed through Status > I/O Overview or I/O Test of the teach pendant screen. For more information, refer to each item.