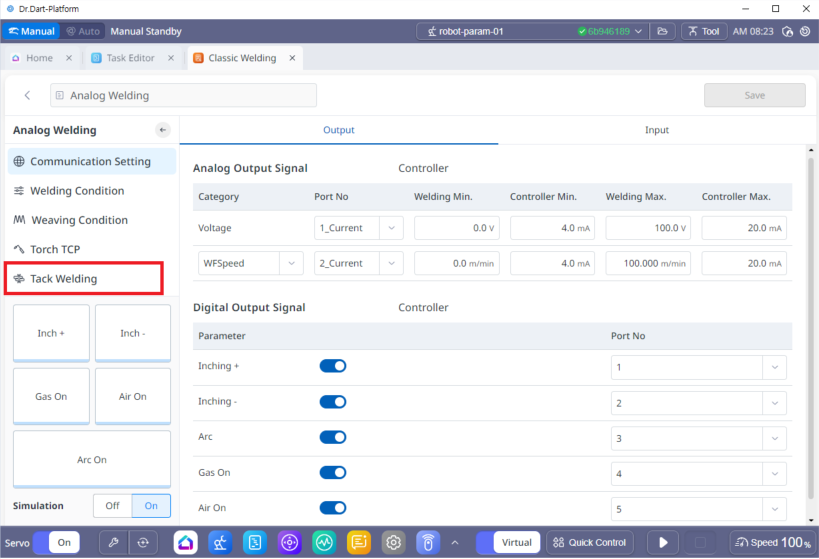
Tack Welding
Provide a tack welding (tack welding) function to temporarily fix the weldment part to a set location before main welding. Welding conditions for tack welding must be created, and the direct teaching function can be used to quickly move the robot to perform tack welding.
1. Tack Welding Setting
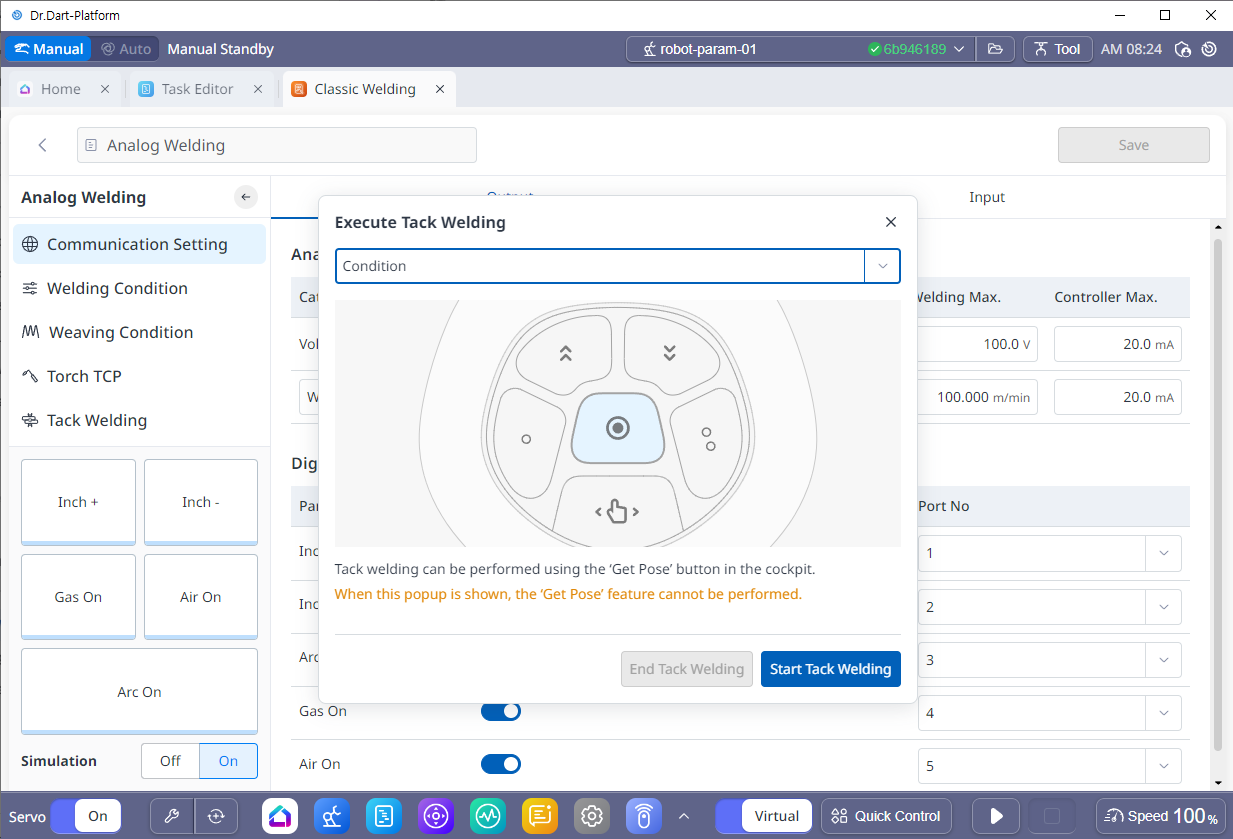
When using tack welding, a pop-up window like the one below will appear and you can select the set welding conditions to execute tack welding.
In order to perform tag welding, the robot must be Servo On.
Warning
You can only perform tag welding when the pop-up window is running.
The tack welding function cannot be used if the optional cockpit is not installed.
When moving to Direct Teaching after running the Tack Welding Execution pop-up window, be careful not to confuse the Get Pose button with the Tack Welding Cockpit button. Moving to teaching is not possible during Tack Welding.
Info
If you set the point fixation (Orientation) and angle fixation (Position) functions among the direct teaching functions using the cockpit in advance, you can conveniently perform tack welding teaching.
2. Setting up convenient functions for tag welding and welding section teaching
When teaching the welding and welding sections using direct teaching, you can teach more easily and quickly by using the angle fixation and point fixation functions. When using the angle fixation function, you can move to the second position while maintaining the direction set at the first welding section position with direct teaching. When using the point fixation function, you can change only the direction while maintaining the current position with direct teaching. It is convenient to assign the frequently used fixation functions to the cockpit buttons in advance.
각 고정 | 점 고정 |
|---|---|
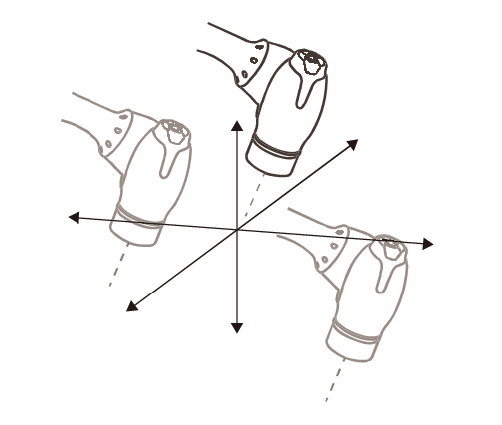 |  |
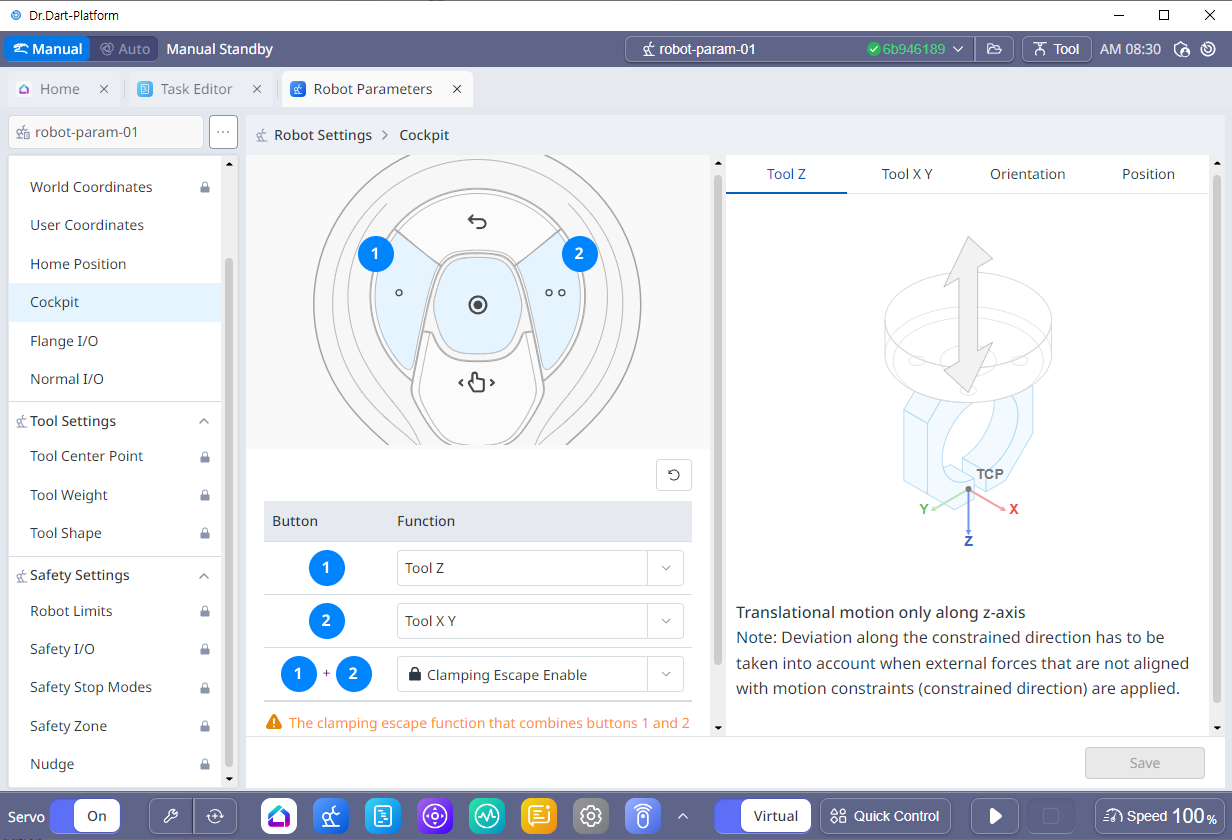
3. Cockpit Button Setting
The cockpit button can be set in the Robot Parameter module that is provided by default.